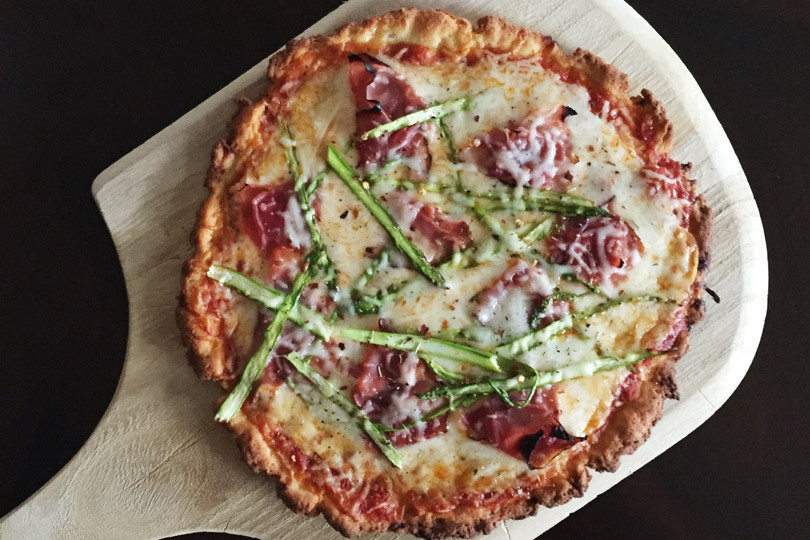
Gluten-free pizza! That’s right. This is the real deal and I am doing a happy dance right now as I eat it. Do you ever dance a little when you eat something super-tasty? I do. Can’t help it. Good food makes me boogie. I digress. Let me tell you a little about how really good homemade gluten-free pizza happened in my kitchen today.
I recently read a post from someone who made gluten-free challah using Blends by Orly. I had never heard of Orly or her flour blends and I have pretty much written off challah (and most other breads) since being diagnosed with celiac in 2011. Sure, I can make some pretty amazing desserts. I can also make muffins, quick breads and other sweet and/or savory typically gluten-full foods which taste the same or better to me than the originals. I’ve even found some great pastas and haven’t felt like we have been missing much on that front at all. However, real breads and pizza…forget about it. I already told you I wrote them off. Until today.
Orly sent me two of her blends; the Tuscany and the Manhattan. There are 5 total and each has a special purpose. I tried the Tuscany blend and made the pizza crust recipe right off of the package. Of course I had to change the toppings a bit and added some ham and thinly sliced asparagus. You can add whatever you like on top. The pizza crust recipe worked really well. My only testing note would be to make sure your pan is very well-oiled before you put the dough on it because it may stick if it isn’t. Also, Orly’s instructions call for proofing the dough for 45 minutes, until doubled. Mine took 1 1/2 hours. Just make sure you are waiting until the dough is doubled before punching it down and baking it.
Here is more information on Orly and how she started her business. I’m looking forward to trying more recipes with her blends and I will keep you posted as I do.
Orly’s husband, Josh, was a serious foodie who was diagnose with celiac disease. He started a new job in Paris and was unable to touch any of the gorgeous French pastries. Orly decided to take matters into her own hands and learned how to pair French baking techniques to gluten-free ingredients, first as an apprentice in a Parisian pastry shop and later as a student in the Cordon Bleu Culinary Arts Institute in Sydney, Australia. It was the beginning of a new career for her as “Orly the Baker”.
Orly pioneered an independent study with the Cordon Bleu’s head pastry chef on gluten-free product development. “They gave me use of their test kitchen and each week I would develop a gluten-free version of the recipe we prepared in class,” Orly said. “I taught myself about how the flours worked together in different products. I spent months developing the blends, using different flours and combinations, to compensate for the action of the gluten.” Orly compiled a manual on gluten-free baking that was published and added into the school’s curriculum.
The couple’s next move was to Arizona, where Orly introduced a line of gluten-free baked goods at Chompies Restaurants in Phoenix. “I took all their most popular breads and pastries and made them with my gluten free flour blends–bagels, black & white cookies, rugulah,” she said. Even though they’ve left Arizona, Orly the Baker’s gluten free products continue to be available at Chompies to this day.
After researching the market, Orly began creating Blends by Orly. The blends are named after the different cities Orly traveled to and worked in. Used as a one-to-one replacement for flour in any regular recipe, the blends are combinations of gluten-free grains including sorghum, millet, quinoa, coconut, and brown rice, in different proportions, plus xanthan gum to promote elasticity. Each blend is formulated according to the type of product it will be used for: London Blend for cookies, scones, and biscuits; Tuscany Blend for pizza crusts, focaccia, and breadsticks; Sydney Blend for brownies, sweet & savory muffins, and pies; Manhattan Blend for brioche, challah, and pastries; and Paris Blend for cakes and cupcakes. The Paris blend, for example, has coconut flour to give cakes a sweet, rich taste.
“My main objective is to help people who can’t eat gluten feel normal,” Orly said. She hopes bakers will discover that products made with Blends by Orly are so good, everyone will love them.
Visit www.blendsbyorly.com for information on finding Blends by Orly gluten-free flours near you! You can also follow Orly on Facebook and Twitter. 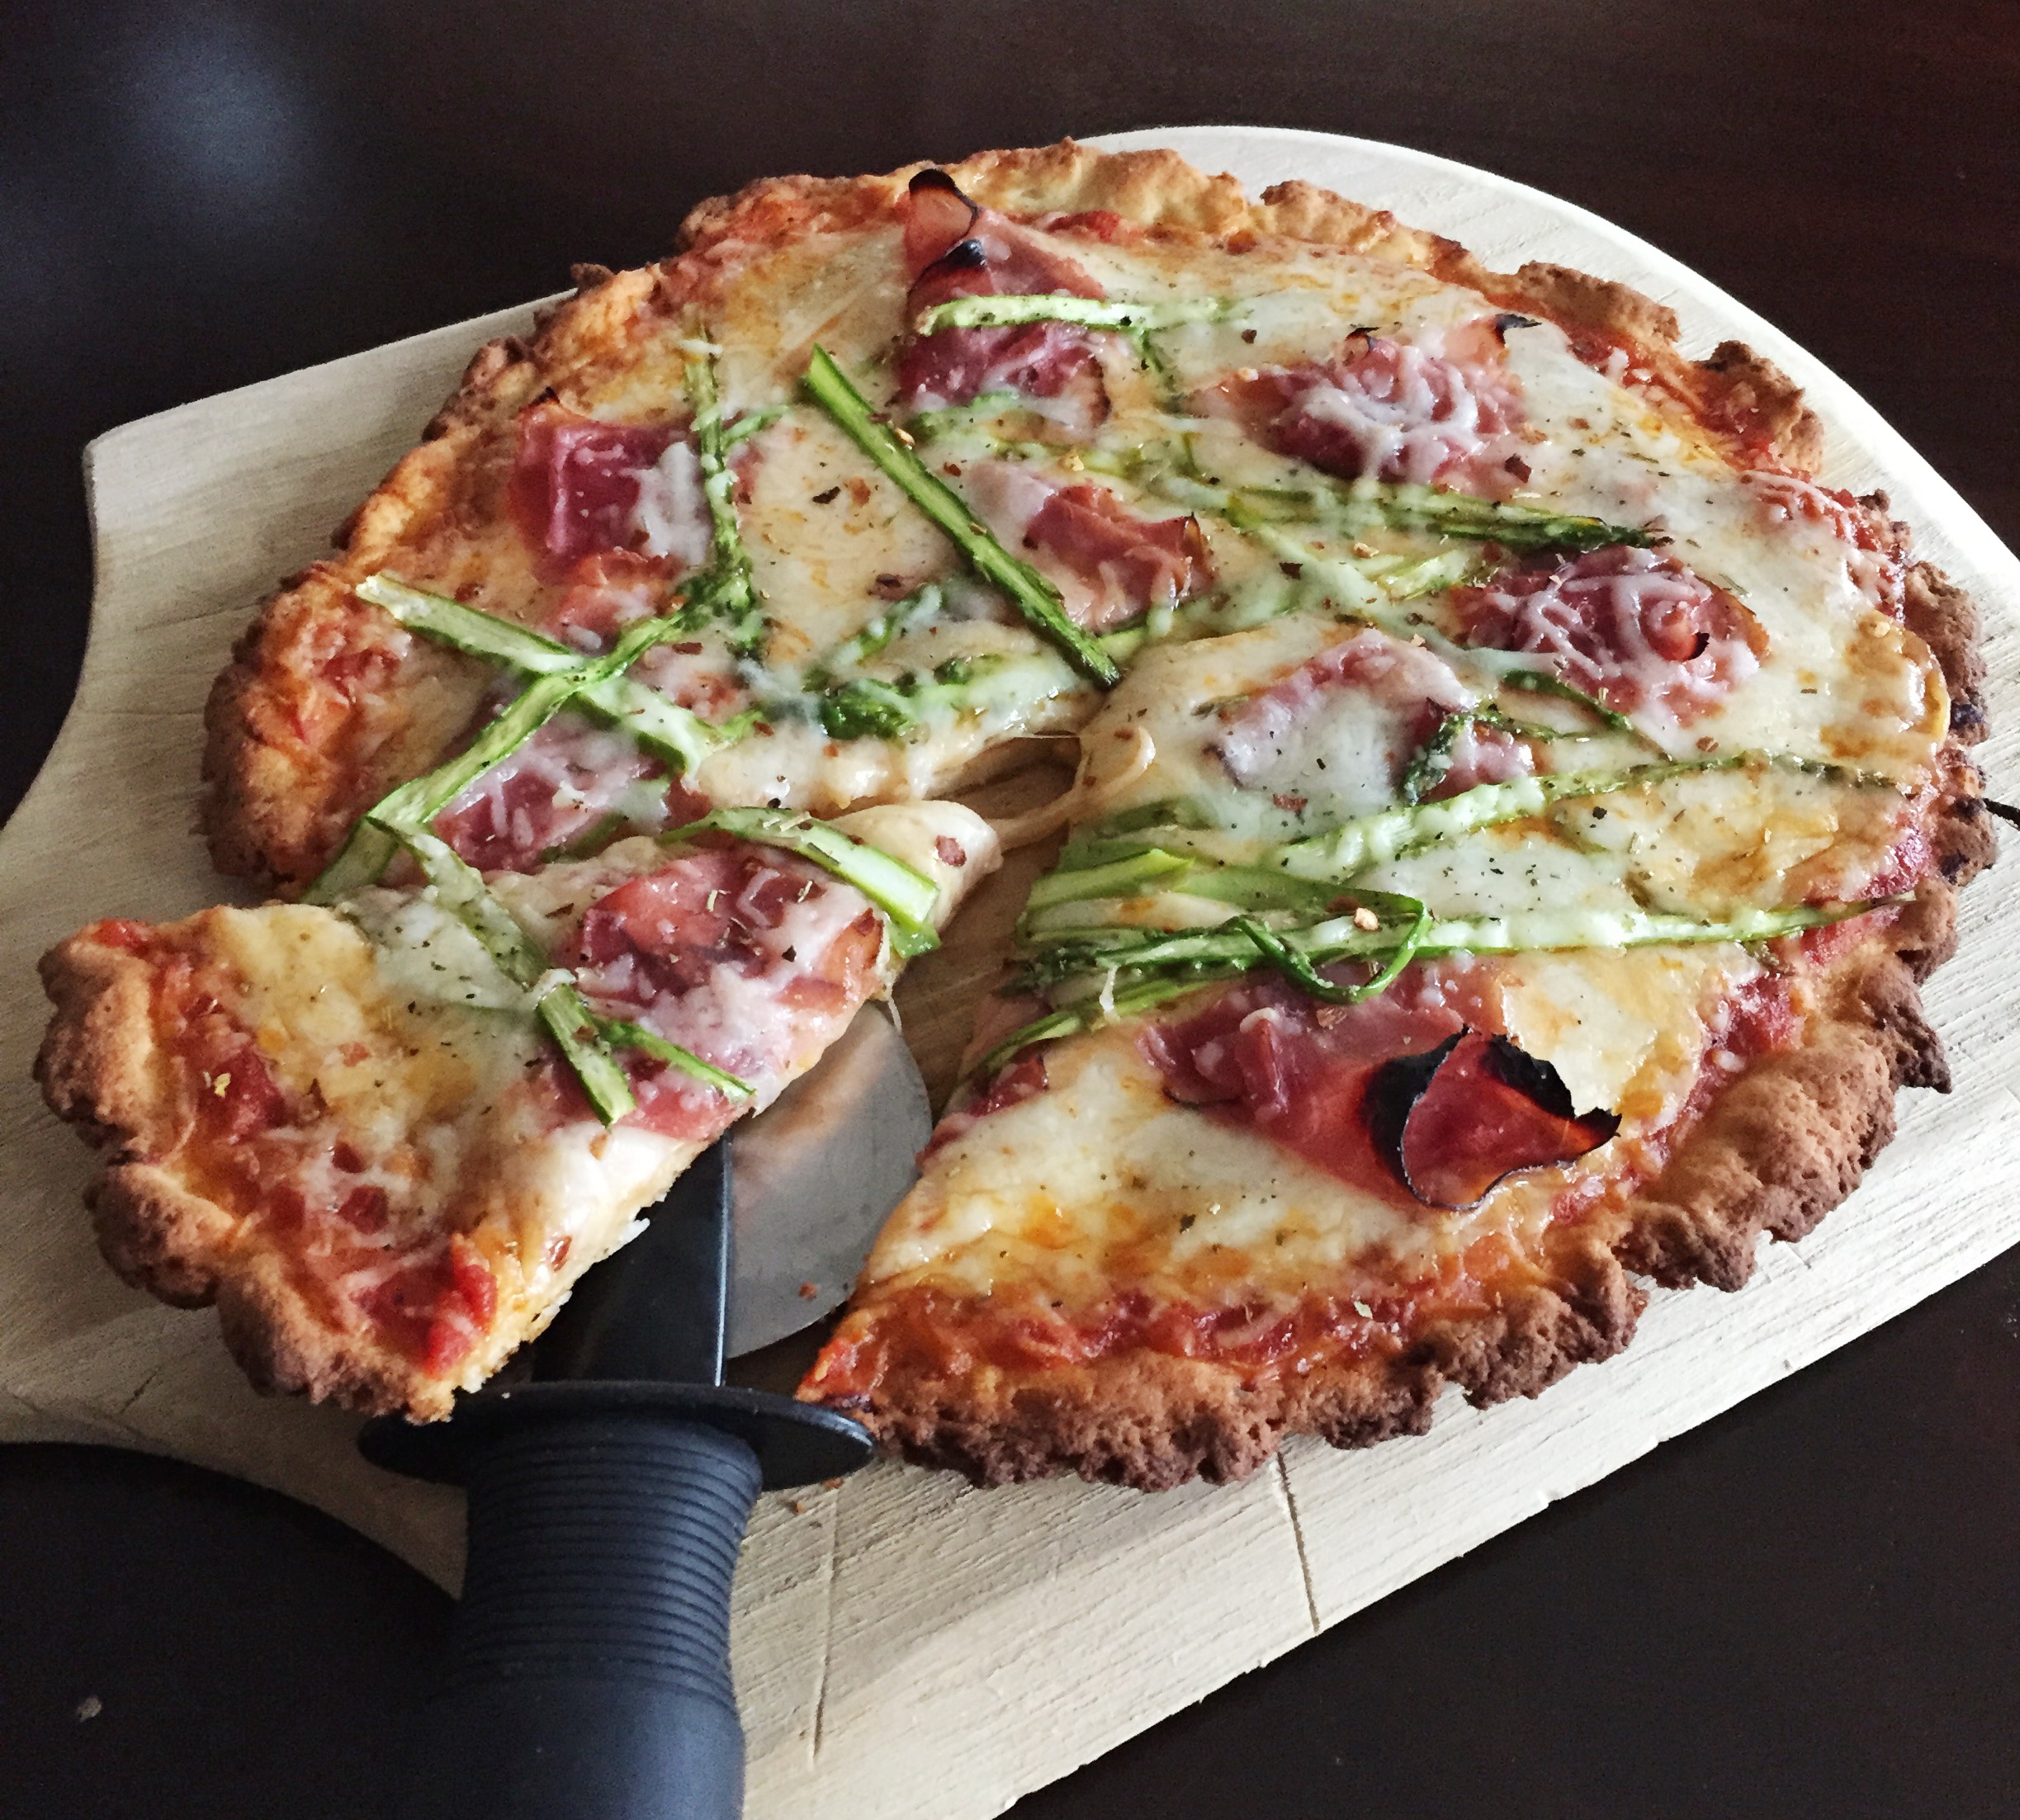
- 1 ¼ tsp yeast covered with 3 tsp warm water
- 1 tbsp olive oil
- 2 ½ tsp apple cider vinegar
- 1 ½ cups Tuscany Blend
- 1 tsp salt
- ½ tsp sugar
- ¼ tsp baking powder
- ¾ cup warm water
- Extra oil for coating the pan
- Extra flour for dusting
- 2 cups marinara sauce, I used Rao's
- 8 oz shredded mozzarella
- 2 oz shredded parmesan
- 2 oz thinly sliced ham, torn into pieces
- 6 asparagus spears, thinly sliced on mandoline
- crushed red pepper, to taste
- dried oregano, to taste
- In a large bowl or the bowl of a stand mixer cover the yeast with 3 tsp warm water and let the yeast dissolve for 2 minutes. In a medium bowl, whisk together Tuscany Blend, baking powder, salt and sugar.
- With the mixer on low speed, mix in olive oil and apple cider vinegar. Add the dry mix and gradually pour the ¾ cup of warm water into the mixing bowl. Increase to medium-high speed until dough is fully mixed with no lumps. The dough should feel soft and sticky, not like a batter. Add more Tuscany Blend if dough is too wet. If the dough is too warm, you can refrigerate it for an hour to make it firmer and easier to shape.
- Lightly flour your work surface with Tuscany Blend or white rice flour and shape the dough into a ball. Place the ball in an oil-coated bowl, and cover with plastic wrap or a towel. Let sit in a warm area until the dough ball doubles in size (about 45 min- 1½ hours). Preheat oven to 450 degrees while dough is rising.
- Remove the cover from the dough and punch it down. Divide the dough in half. Form two round equally sized balls of dough. Take one ball of dough and place it in the center of a round or rectangular pan coated with oil. Sprinkle flour on top of the dough and flatten it with your hands. Starting at the center and working outwards, spread the dough out with your hands, making it as thin as possible. Oil your hands to prevent them from sticking to the dough. You can pinch the edges to form a crust.
- Brush the top of the dough with oil. To ensure a crispy crust, par-bake the pizza shells for about 10 minutes. Remove from the oven. Spread tomato sauce over crusts and top with mozzarella and parmesan cheeses, ham, asparagus, crushed red pepper and oregano. Return to the oven and bake for 8-10 more minutes, until the edges are crispy and the cheeses are melted. Remove from oven and cool for 2 minutes before slicing and serving.

Jackie, this looks AMAZING. Definitely going to try this out!!