The French call it Quiche Lorraine. I call it “yum”. I was pretty excited when my gluten-free tart shell worked out because there are a million possibilities in terms of fillings. As Chef Ted often says, “You are only limited by your imagination”. We focused on several regions of France this week including Alsace, Midi and Provence. The cuisines were varied and based mostly on the foods readily available in each area. That is how it should be, no?
We often wonder why other cultures are healthier than ours and I think one of the main reasons is they eat seasonal and fresh foods that don’t have to travel too far to get to them. Does any place really have the same fresh produce available year round? We seem to be able to get any fruit or vegetable we want, any time of year. There is a price to pay for this convenience and I believe we pay it with our health. Just a little food for thought.
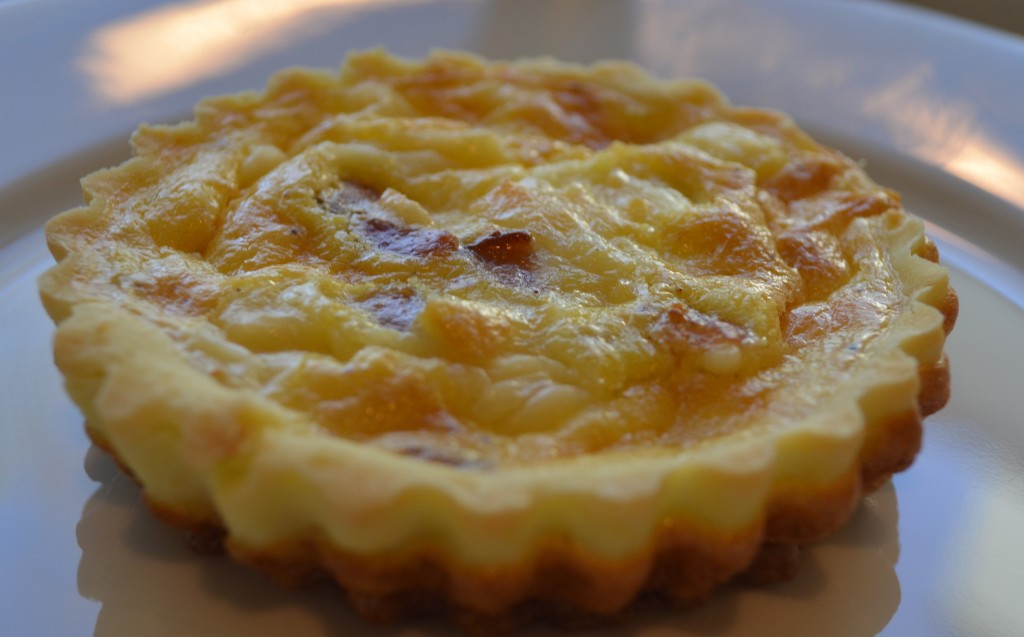
We made a basic tart shell in class and used it for two dishes. The first was Quiche Lorraine and the second was a savory tart with apples, gouda, currants and swiss shard. Both were gorgeous and looked so appetizing. It was a bit of a bummer not to be able to try them so I decided to come home and make a gluten-free tart shell. My first attempt at the actual shell worked out great but if you follow me on Instagram, you saw I ended up messing up the filling (the easiest part, no less). I decided to try again with mini-tart shells and it came out really good. I fell in love with my Mini Quiche Lorraines (a.k.a. bacon, egg and cheese tarts)!
My recipe tester for this dish (who is not gluten-free) really liked the taste of the shell but said it was a little less egg than she would have expected from a quiche. Makes sense since these shells were not too deep. There was only so much filling you could put inside. If you like a lot of egg in your quiche, go with the same recipe for the shell but use a deeper, wider pan and put in a bit more filling. I’m going to post step-by step pictures in addition to a recipe for this dish since it is a little more involved:
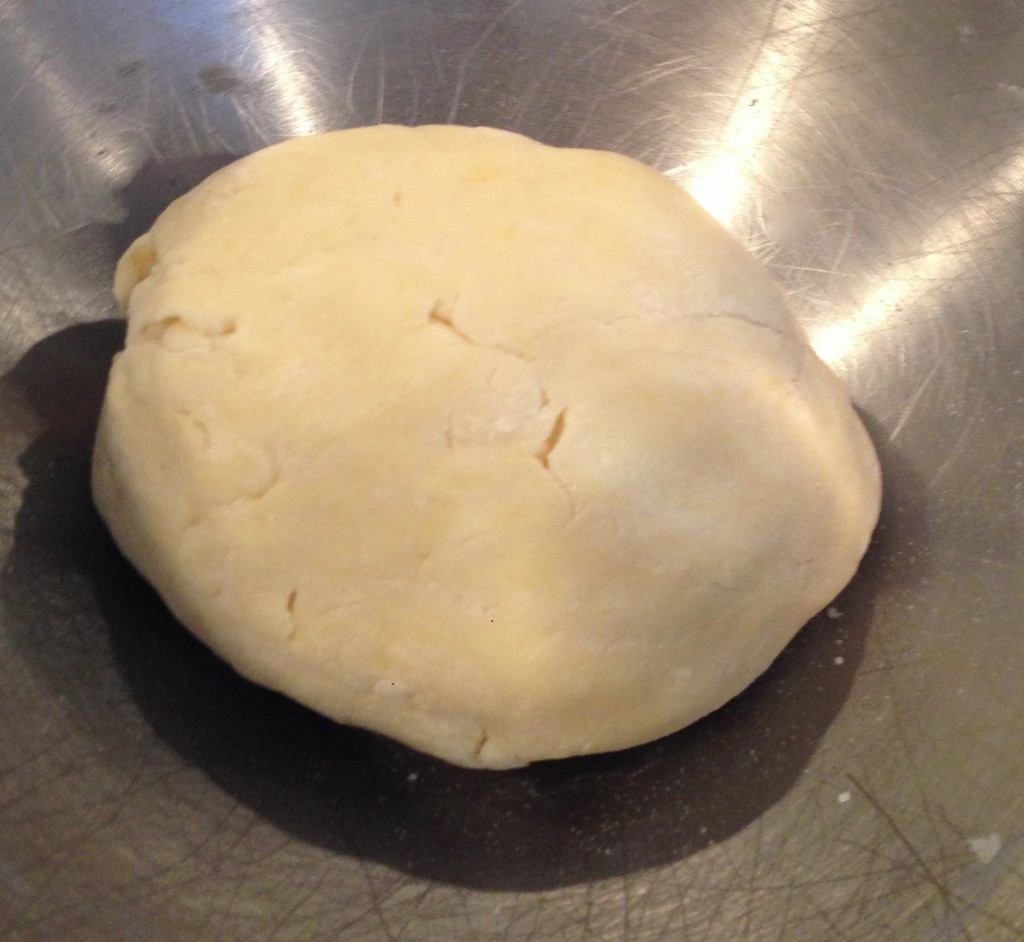
This is what the dough should look like..
Bacon and cheesy goodness goes into slightly pre-cooked tart shells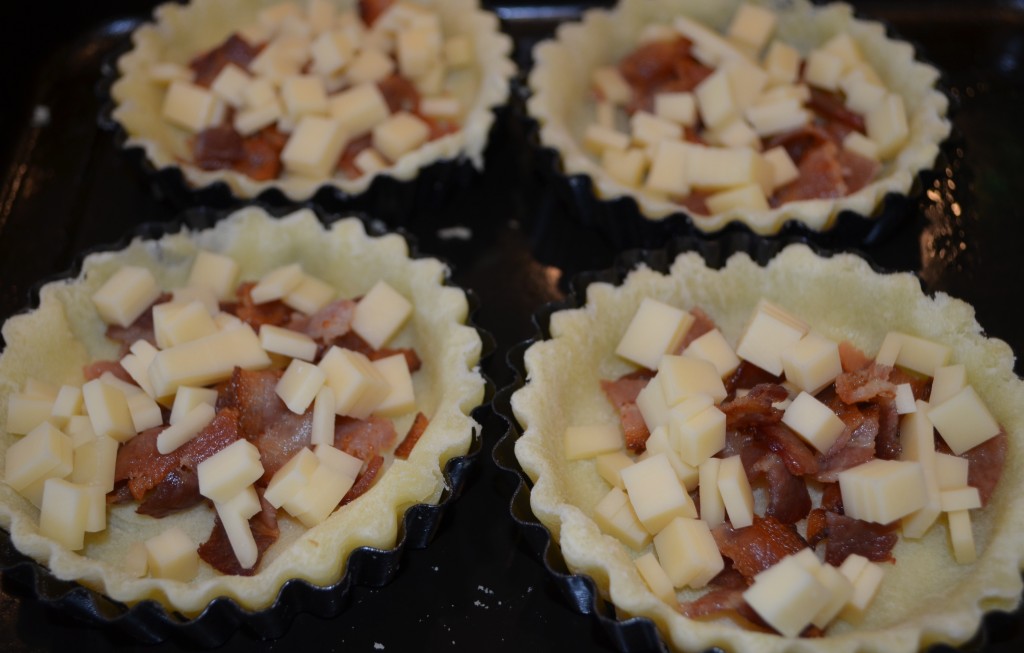
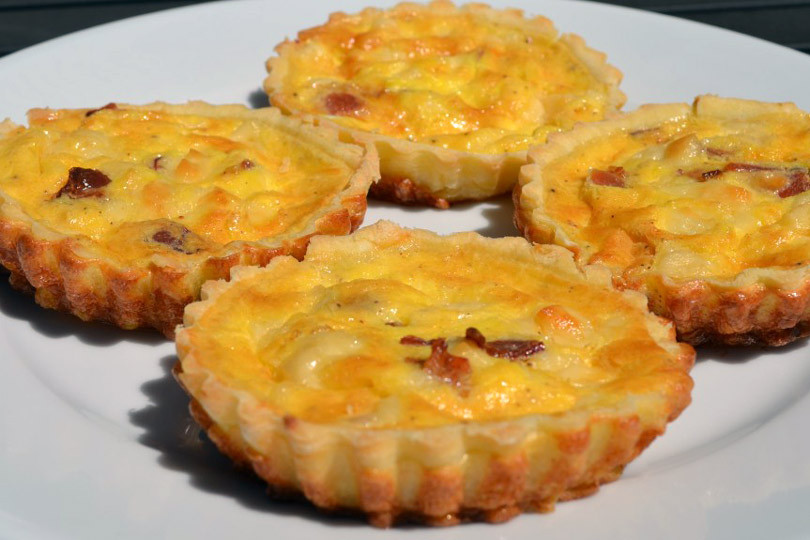
I love you little Quiche Lorraine!
Enjoy!
- TART SHELL (enough for 8 mini tarts or 1 large tart)
- 1¼ cups gluten free flour blend (I used homemade blend but King Arthur's would work well too. Just add a tsp of xanthan gum)
- ¼ tsp salt
- ⅛ tsp baking powder
- 5 T cold butter, cubed
- 1-2 eggs
- 1-3 T water, if needed
- FILLING
- 5 eggs
- 1 cup heavy cream
- salt, pepper and nutmeg to taste
- 1 cup swiss cheese, cubed
- 8 slices of bacon, cooked and chopped
- TART
- Whisk dry ingredients together
- In a stand mixer, with the dough attachment, mix the dry ingredients and butter together until they start to form a coarse texture
- Add egg, 1 at a time, until the dough starts to pull away from the sides (dough is very susceptible to the climate. If it is a dry day, as mine was, you may need to add another egg and/or a few tablespoons of water to get the dough to come together enough to pull away from the edges. I ended up adding 2 eggs total and 3 tablespoons of water to mine. It got a little moist so I added a few more tablespoons of flour at the end as well and then kneaded it by hand. I included a picture of the dough above so you can see what it should look like.
- Wrap the dough in saran wrap and refrigerate overnight.
- When you are ready to use the dough, have two sheets of parchment ready on your work surface, sprinkle flour on the bottom sheet, put the dough on it, sprinkle flour on top and lay the second sheet over it.
- Pound the dough a bit with your rolling pin to soften it and roll it out until about ¼ - ½" thick. Lay out on tart pans and press into bottoms and on the sides, filling in any areas that need to be filled with additional dough.
- Place tart pans with dough in refrigerator while you preheat the oven
- MINI TARTS
- Heat oven to 375
- Put tart shells in the oven, on top of a baking pan for about 5 minutes (while you prepare the egg filling) to start to cook
- Whisk together the eggs, heavy cream and seasoning
- Remove the tart shells from the oven
- Put the cooked bacon and swiss cheese into the bottom of each tart pan
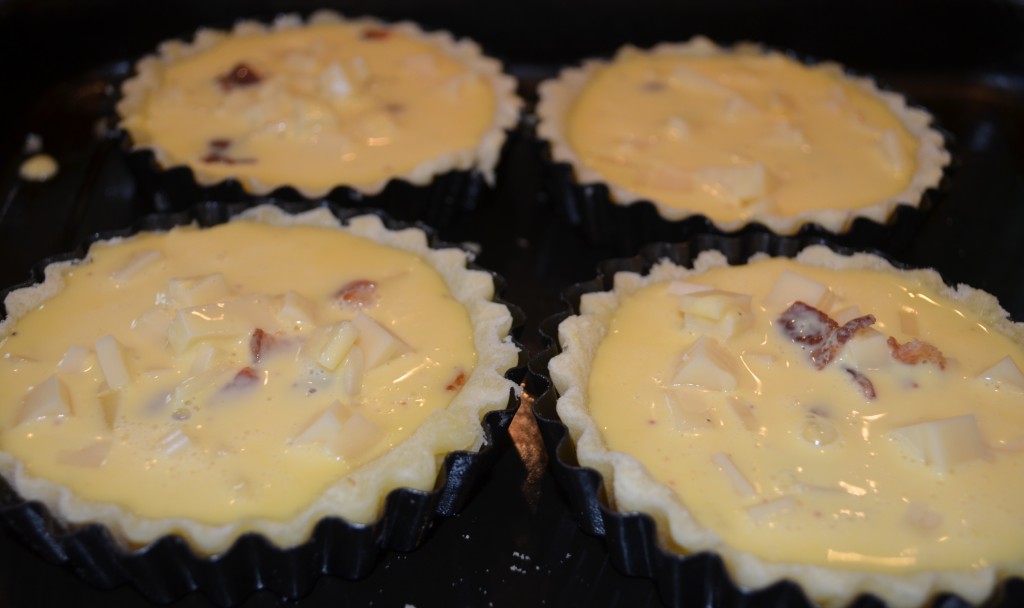
- Pour the egg mixture in each tart until it comes to the top edge, without going over.
- Bake for about 20 minutes or until the filling is puffy and lightly browned
- Remove, allow to cool for about 10 minutes and carefully remove each tart from the aluminum shell.
- Use a butter knife to gently seperate it from the bottom of the pan, if needed.
- Serve and enjoy!



Hello,
These look wonderful! What size are the mini tarts? I think the pan I have might be “tartlet” – even smaller. Just trying to see how to adjust for the bite size ones.
Thanks! Can’t wait to test these out for a baby shower 🙂
Jill
Thanks! These are the pans I used http://www.amazon.com/gp/aw/d/B00113GLR6?cache=bb2bc65bcc583eda89f3f3b6d360df1b#ref=mp_s_a_1_2&qid=1393001465&sr=8-2 I believe they are 3″ diameter. Enjoy!
Do you grease each mini tart pan before putting the dough in? And what do you use? Thanks!